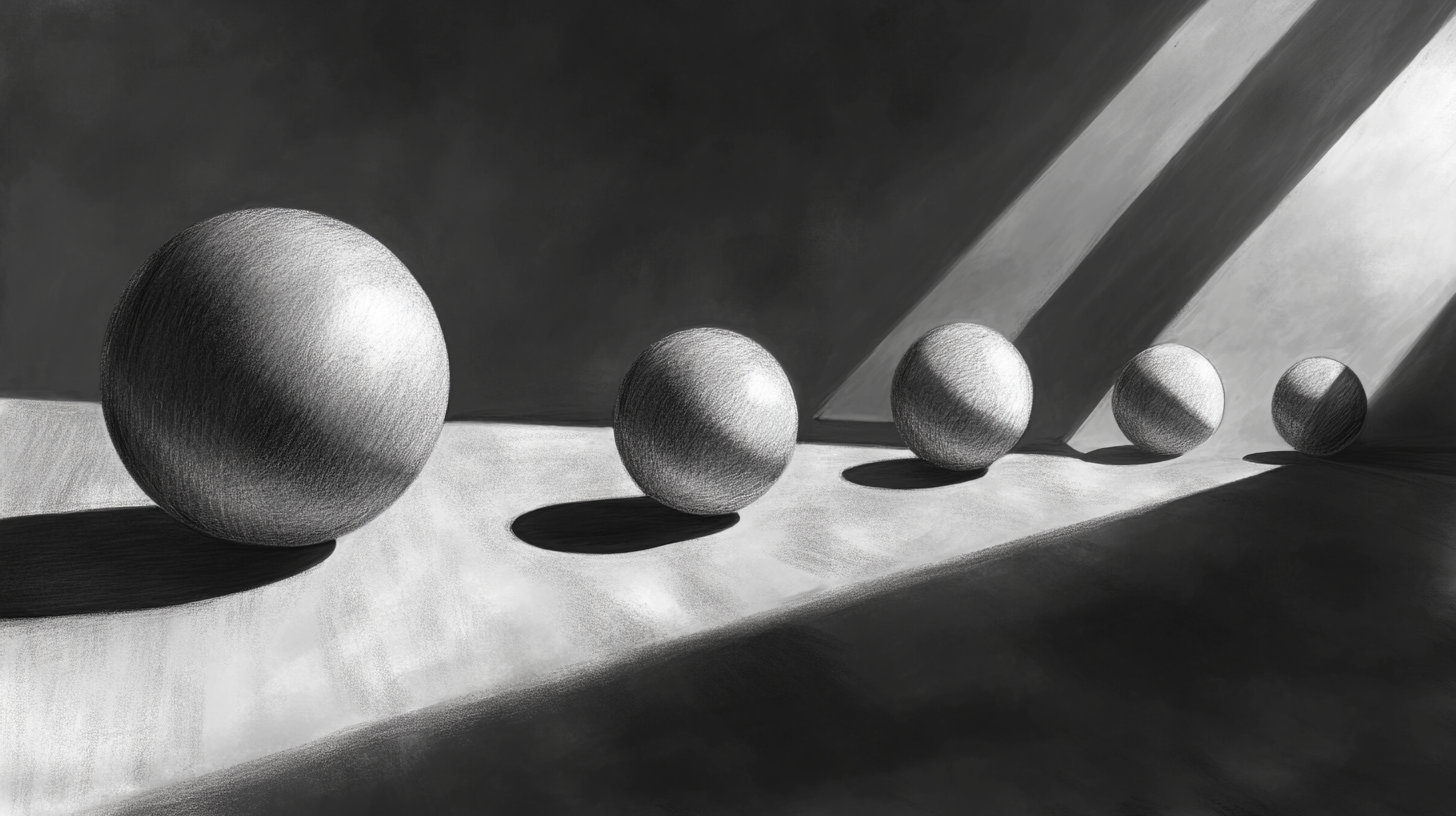
Shading Techniques for Beginners: Mastering Light and Shadow

Shading Techniques for Beginners: Mastering Light and Shadow
Table of Contents
- Introduction
- Understanding Light and Shadow Basics
- Technique 1: Hatching and Cross-Hatching
- Technique 2: Smooth Blending
- Technique 3: Stippling
- Selecting Pencils and Tools
- Common Shading Mistakes
- Practice Exercises
- Conclusion
Shading adds depth and realism to any drawing, turning simple outlines into three-dimensional forms. Beginners often find shading both exciting and challenging—exciting because it breathes life into the work, challenging because incorrect shading can flatten a scene. This guide will walk you through the fundamentals of shading, from identifying light sources to mastering different techniques like hatching, blending, and stippling.
Hot Tip: Always identify where your light source is coming from. This single insight informs where your shadows fall and how you distribute light vs. dark.
Introduction
Shading is about translating the way light interacts with objects onto paper. By varying pressure and pencil strokes, you can create gradations that replicate highlights, mid-tones, and shadows. The more accurately you capture these tonal changes, the more convincing your drawing becomes.
Effective shading starts with understanding tonal values in art. Without recognizing the difference between light, mid, and dark values, even the best shading technique will fall flat.
Understanding Light and Shadow Basics
- Light Source
Determine the direction (e.g., top-left). This influences where the brightest highlights and darkest shadows are. - Highlight
The brightest area facing the light source directly. - Mid-tones
Transitional values between the highlight and the core shadow. - Core Shadow
The darkest area on the object itself, where light does not reach. - Cast Shadow
The shadow that the object casts onto surrounding surfaces. - Reflected Light A subtle area of lighter tone within the shadow, caused by light bouncing off nearby surfaces.
To practice identifying these elements, try using a grayscale converter for painting to simplify your reference photo into pure tonal values, making it easier to see highlights, mid-tones, and shadows.
Technique 1: Hatching and Cross-Hatching
- Hatching: Drawing many parallel lines close together to create a darker tone. Spacing them further apart yields a lighter tone.
- Cross-Hatching: Layering perpendicular sets of hatched lines. Adding additional layers at varied angles can darken the value further.
Pros: Good for quick sketches; provides texture and interesting line work.
Cons: May not yield ultra-smooth tones.
Technique 2: Smooth Blending
- Application: Use circular or back-and-forth pencil strokes, then lightly blend with a tortillon or blending stump.
- Control: Switch to softer pencils (e.g., 2B, 4B) for darker shades. Use minimal pressure for lighter tones.
Pros: Ideal for realistic effects, especially skin or soft objects.
Cons: Takes time to master; can look "muddy" if over-blended.
Technique 3: Stippling
- Method: Create tone through a series of dots, spaced more densely in darker regions and sparsely in lighter areas.
- Medium: Often used in ink drawings, but pencil stippling is also possible.
Pros: Can achieve very controlled transitions and fascinating textures.
Cons: Very time-intensive.
Selecting Pencils and Tools
- Graphite Pencils: A range from 2H (hard, lighter) to 6B (soft, darker) helps achieve varied tonal ranges.
- Charcoal: Offers rich blacks but can be messier.
- Blending Stumps: Paper or felt tools for smoothing graphite or charcoal.
- Kneaded Eraser: Ideal for lifting graphite to create highlights or soften edges.
Common Shading Mistakes
- Outlined Shadows: Shadows rarely have sharp outlines; use gradation to represent softness.
- Uniform Darkness: Not all shadows are equally dark. Identify the darkest core shadow vs. lighter reflected shadow.
- Ignoring Reflected Light: Failing to include subtle bounce light in shadows can make your drawing look flat.
Use a value scale for better drawings to objectively compare your shading against your reference. This eliminates guesswork and ensures consistent tonal accuracy.
Practice Exercises
- Shading Basic Forms: Spheres, cubes, and cylinders under a single light source.
- 3-Value Sketches: Draw a still life using only three shades: light, mid, dark. Use a free tonal value converter to see exactly how your reference breaks down into light, mid, and dark tones.
- Copy a Master: Find a black-and-white reference from a master artist and replicate the shading.
Digital artists should also explore our curated list of digital art tools that can help with value studies and shading practice.
Check Your Values with the Free Tool
Don't let a flat painting discourage you. The fix is often just a few dark accents or bright highlights away.
Use Tonal Value ToolConclusion
Shading is a journey—each stroke refines your perception of light and form. Experiment with hatching, blending, and stippling to discover your personal style. With consistent practice, you'll find shading transitions becoming smoother, shadows more convincing, and your artwork more compelling.
Remember, shading stands on the foundation of accurate tonal values. Digital tools like our value study tool online can further enhance your learning by letting you check and compare your values against references in grayscale.
Need a refresher on tonal fundamentals? Check out our Tonal Values 101 tutorial for comprehensive coverage.